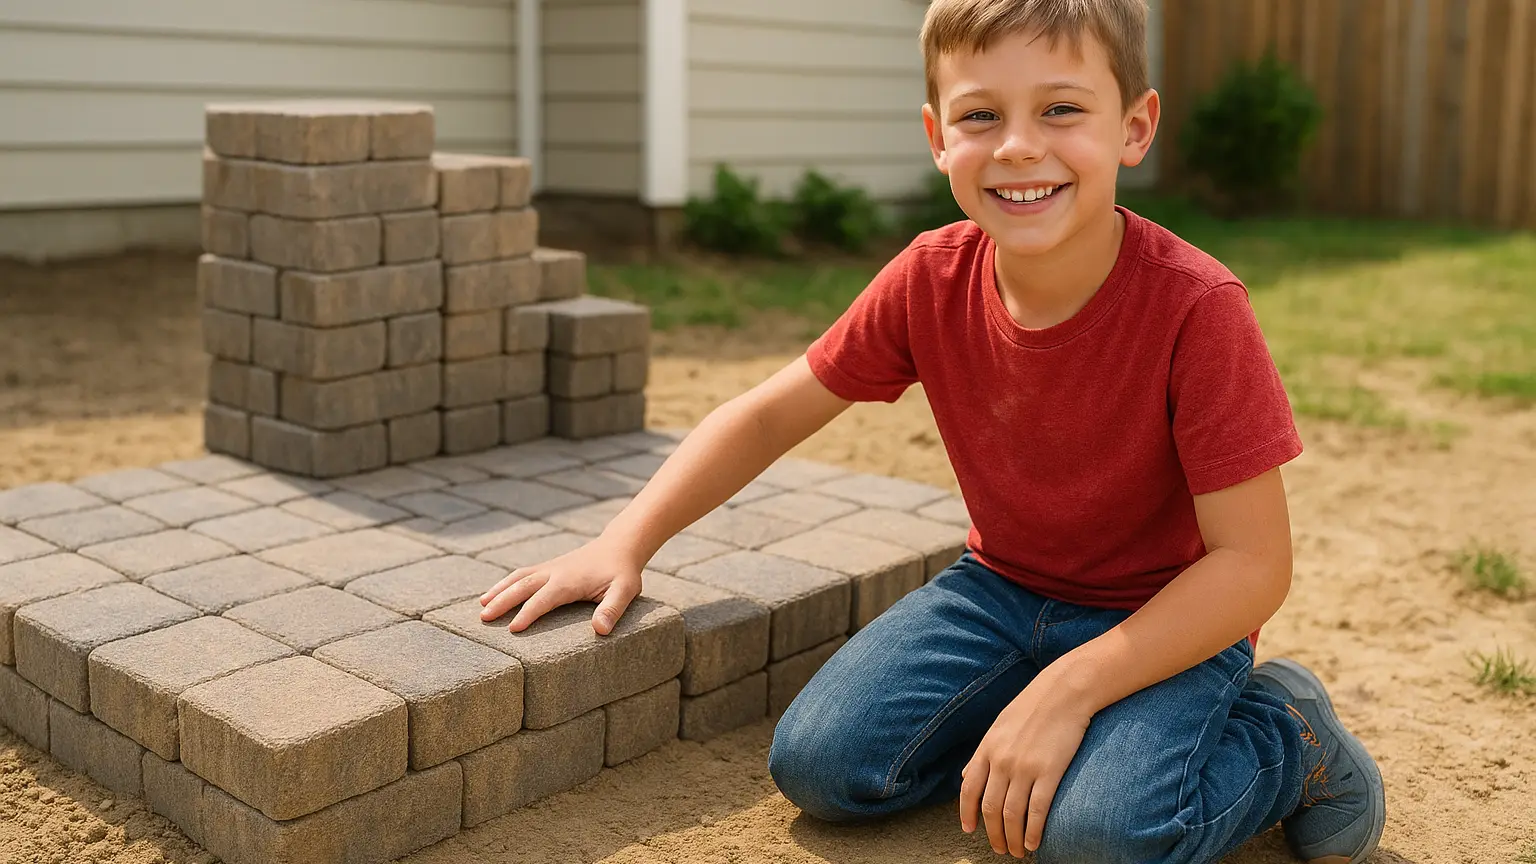
Every parent knows the sound of summer boredom setting in around week three of break. The video game controllers get sticky from too much use, the couch cushions have permanent butt-shaped dents, and everyone is looking for something new to do. A garden path project might sound like an odd fix for boredom, but it works surprisingly well. It gives kids a real job with a real result they can point to for years to come.
Building a simple paver and mulch path is one of those rare projects that fits almost any age group, any yard size, and any skill level. It does not require power tools, expensive materials, or a landscaping degree. What it does require is a little patience, some teamwork, and a willingness to let kids get their hands dirty. If you have already read about how to turn a pile of pavers into your kid's proudest summer project, this guide takes things a step further by walking through exactly how to plan, build, and finish a working garden path from start to end.
The best part is that this project teaches more than just landscaping. Kids learn measurement, problem solving, physical labor, and the satisfaction of finishing something they started. Those are lessons that stick around long after the mulch settles.
Why a Garden Path Is the Ideal Summer Project
A garden path checks a lot of boxes that other summer activities miss. It is outdoors, it is active, and it produces something useful instead of something disposable. Unlike a lot of craft projects that end up in the trash a week later, a paver path stays in the yard as a visible reminder of what your kid built with their own two hands.
It Builds Confidence in Small Steps
Kids do not need to lay the whole path in one afternoon. The project breaks naturally into smaller stages, which makes it easy to match tasks to age and attention span. A six year old can help pick out mulch color. A ten year old can help measure the path width. A teenager can handle digging and leveling with some supervision.
It Teaches Patience Without Feeling Like a Lecture
Nobody likes being told to slow down and be patient, but a paver path teaches that lesson without a single word of scolding. Pavers that go in too fast end up crooked. Mulch spread too thin blows away in the first strong breeze. Kids figure out pretty quickly that rushing costs them extra work later, and that lesson tends to stick better than any speech.
Picking the Right Spot in the Yard
Before anyone touches a shovel, walk the yard together and decide where the path should go. A good starter path connects two points that already get foot traffic, like the back door to a garden bed, a shed, or a play area. Short and straight is easier for a first project. Curved paths look nice but require more planning and cutting, so save those for next summer.
Have your kids stand at the start and end points and imagine walking the route. Ask them where they would naturally step. This small exercise teaches basic spatial thinking and gets them invested before any physical work begins.
Gathering Materials Kids Can Handle Safely
One reason this project works so well for families is that the material list is short and the items are light enough for kids to carry with a little help. A trip to the local garden center or hardware store can even become part of the lesson, since kids can compare paver sizes, colors, and prices.
- Flat pavers or stepping stones in a size that matches the width of the path
- Bags of mulch, enough to cover the space between and around the pavers
- Landscape fabric to block weeds from pushing through
- A rubber mallet for tapping pavers level
- A small level so kids can check their own work
- Garden gloves sized for smaller hands
- A tape measure and some marking flags or spray chalk
Skip anything that requires gas power or sharp blades. This project is meant to be hand tool only, which keeps it safe and keeps the focus on skill building rather than machine operation. If your family already worked through the Summer Fix-It List of simple home repairs kids can master, you likely already have some of these basic tools sitting in a garage bin.
Letting Kids Choose Materials Builds Ownership
Give kids a say in the paver color and mulch type. A child who picked out the reddish cedar mulch or the gray square pavers feels a stronger connection to the finished path than one who just followed instructions. Ownership is what turns a chore into a project they brag about to friends.
Step by Step Path Building With Kids
Once materials are gathered, the actual build happens in a handful of clear stages. Walking kids through each step in order keeps them from feeling overwhelmed and gives them small wins along the way.
Step One: Mark the Path
Use marking flags or a rope to outline where the path will go. Let kids adjust the line themselves and check it by walking the route a few times. This step is mostly visual and requires no digging, so it is a good warm up task for younger children.
Step Two: Clear and Level the Ground
Remove grass, rocks, and roots along the marked path. This is the most physical part of the project, so older kids or teens usually take the lead here while younger siblings help clear debris into a pile. A flat rake works well for smoothing the dirt before the next step.
Step Three: Lay the Landscape Fabric
Roll out the fabric along the cleared path and cut it to size. This part goes fast and gives kids an easy sense of progress, since the path suddenly looks like a real project instead of a dirt trench.
Step Four: Place the Pavers
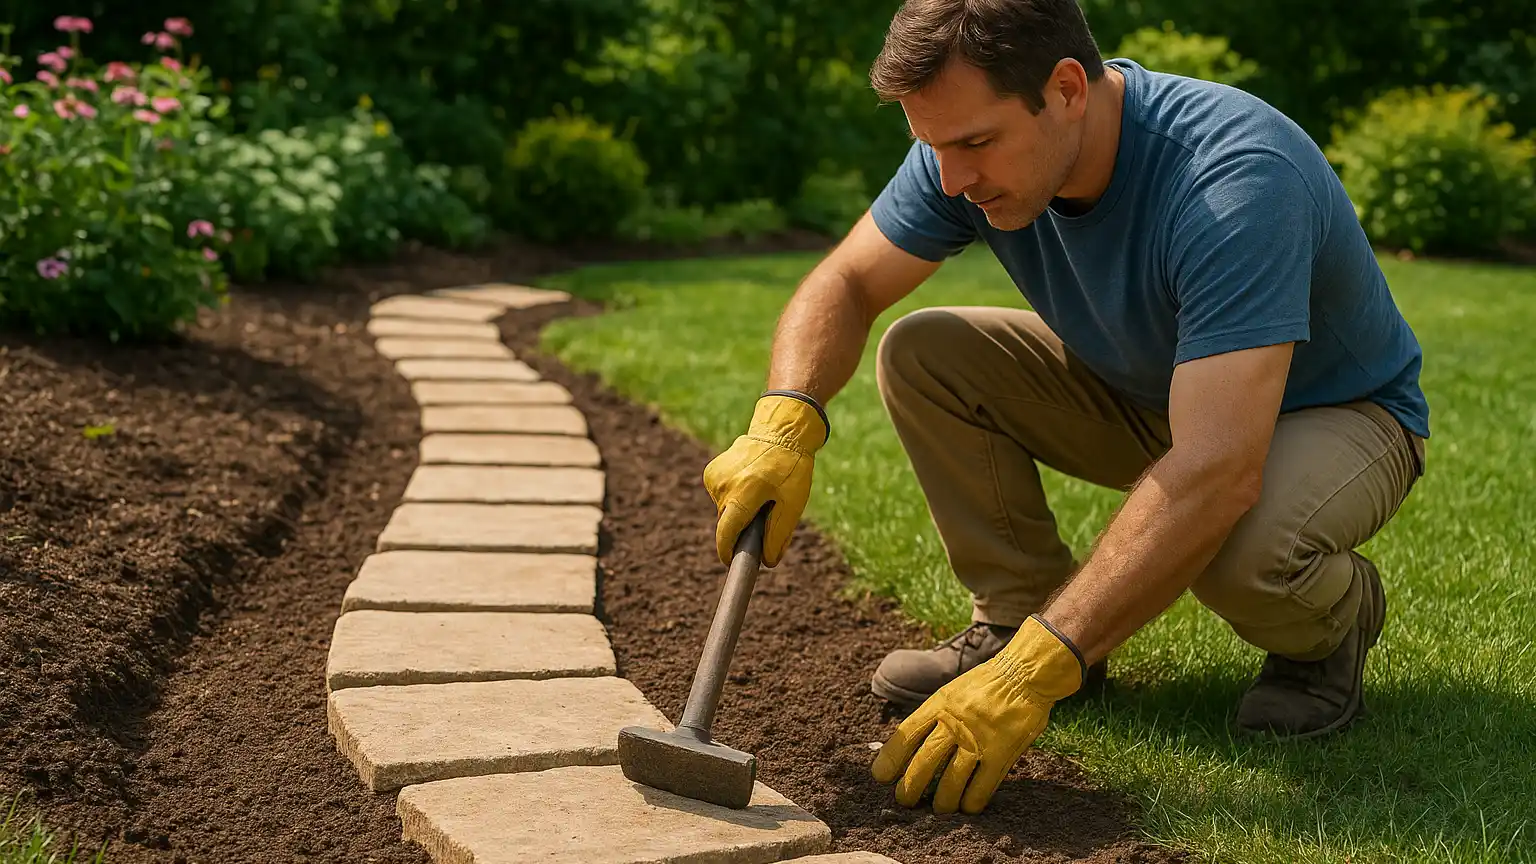
Set pavers along the path with a consistent gap between each one. Use the level to check each paver and tap it gently with the mallet until it sits flat. This step takes the most patience, and it is worth letting kids redo a paver a few times rather than fixing it for them.
Step Five: Fill With Mulch
Once all the pavers are placed, spread mulch around and between them to fill the gaps and cover any exposed fabric. Kids can use their hands or a small rake to spread it evenly, and this part is genuinely fun for most ages.
“One of the best things about a project like this is that it forces kids to slow down and check their work before moving forward, which is exactly the mindset we want homeowners to have with any repair or build,” says Daniel Foster, lead project specialist at Handy Squad Handyman. That mindset of checking, adjusting, and taking pride in small details carries over into far more than backyard landscaping.